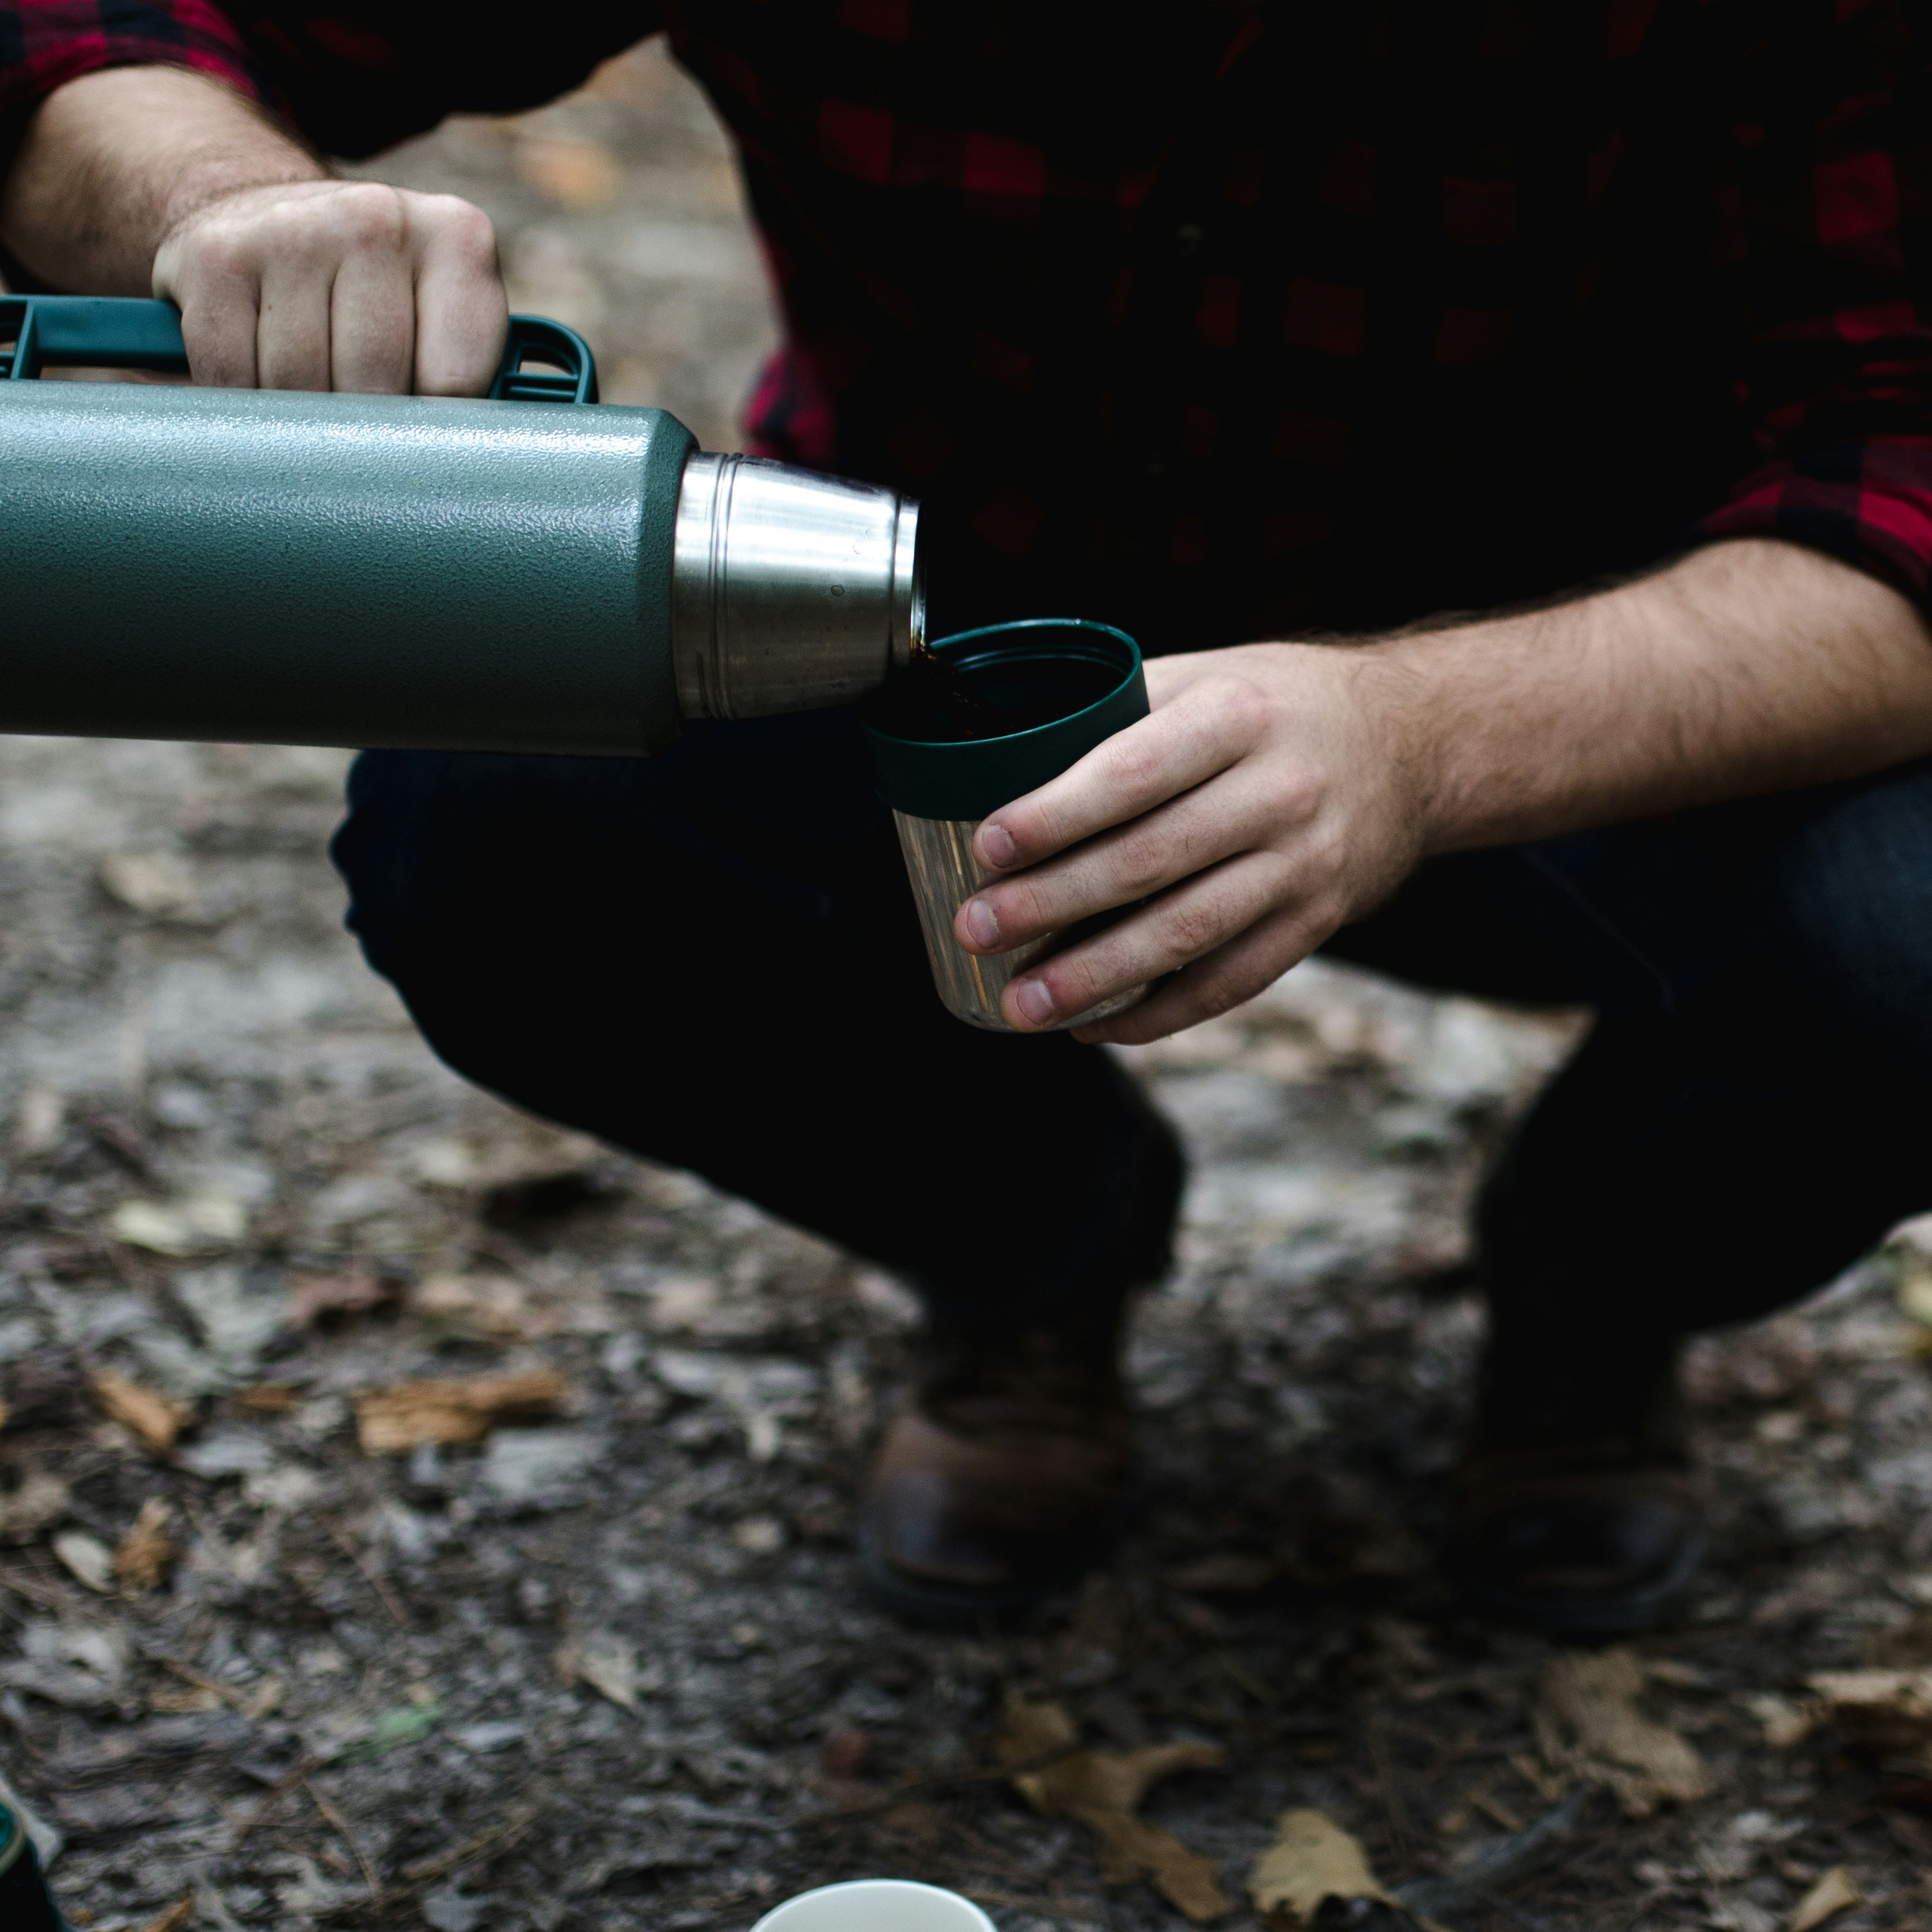
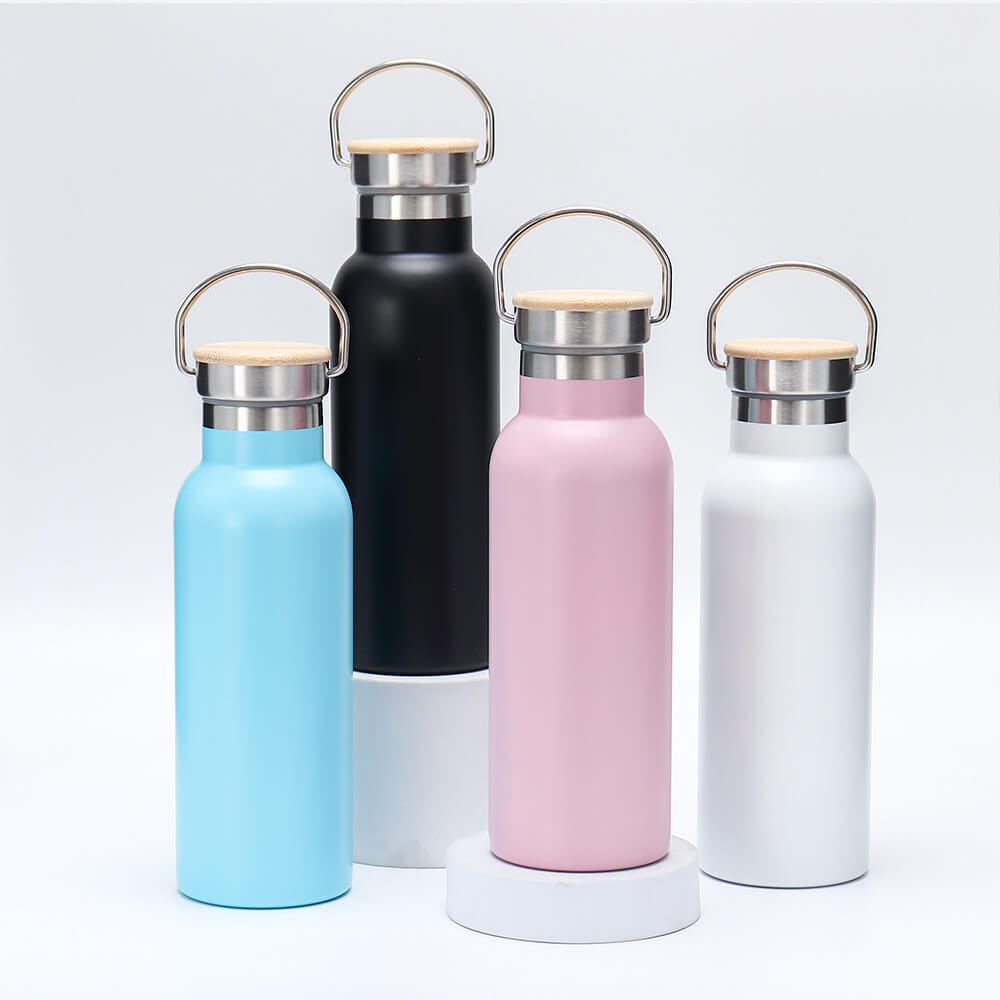
A thermos flask is a trusty companion, keeping your beverages hot or cold for hours on end. However, without proper care, it can become a breeding ground for bacteria and unpleasant odors. In this guide, we'll delve into the art of cleaning a thermos flask effectively, ensuring it remains in top-notch condition for years to come.

The Importance of Regular Cleaning:
Before we dive into the cleaning process, let's understand why regular cleaning is crucial for your thermos flask. Over time, leftover residues from beverages can accumulate, leading to odors and a compromised taste in your drinks. Additionally, bacteria thrive in warm, moist environments, making an unclean thermos a potential health hazard. By incorporating a regular cleaning routine, you not only maintain the flask's hygiene but also extend its lifespan.
Step-by-Step Cleaning Guide:
1.Rinse Immediately After Use:
Develop the habit of rinsing your thermos flask immediately after use. This helps to prevent the buildup of residue and makes the cleaning process much easier.
2.Use Mild Dish Soap:
For regular cleaning, a solution of mild dish soap and warm water works wonders. Add a few drops of soap to the flask, fill it with warm water, and shake well. Use a soft-bristle brush to scrub the interior, paying extra attention to the cap and threads.
3.Banish Odors with Baking Soda:
Stubborn odors in your thermos? Fear not. Create a paste with baking soda and water, apply it to the interior, and let it sit for a few hours. Baking soda is a natural deodorizer that absorbs odors, leaving your thermos smelling fresh.
4.Tackle Stains with Vinegar:
For hard-to-remove stains, white vinegar comes to the rescue. Mix equal parts of vinegar and water, pour it into the thermos, and let it sit overnight. The acidic properties of vinegar break down stains, making them easier to scrub away the next day.
5.Invest in Bottle-Cleaning Tablets:
For a quick and hassle-free cleaning process, consider using bottle-cleaning tablets. These effervescent tablets are designed to reach every nook and cranny of your thermos, ensuring a thorough cleanse.
6.Don't Forget the Cap and Seals:
The cap and seals are often overlooked but are critical components of your thermos. Remove the gasket and seals, if possible, and clean them separately. Wipe down the cap and threads to prevent any residue buildup.
7.Air-dry Upside Down:
After cleaning, allow your thermos flask to air-dry upside down to ensure all moisture evaporates. This helps prevent the growth of mold and mildew.
Mastering the art of cleaning a thermos flask is essential for maintaining its performance and ensuring the safety of your beverages. By incorporating these simple yet effective cleaning methods into your routine, you can enjoy your thermos for years to come. Say goodbye to odors and residues, and savor every sip from a pristine thermos flask.
 Octagonal Thermos Cup: The Perfect Blend
 Drip Coffee Cups Revolutionize Coffee Ex
 The Best Water Bottles for Every Trip
 4 Phenomenal Styles of Sport Insulation